


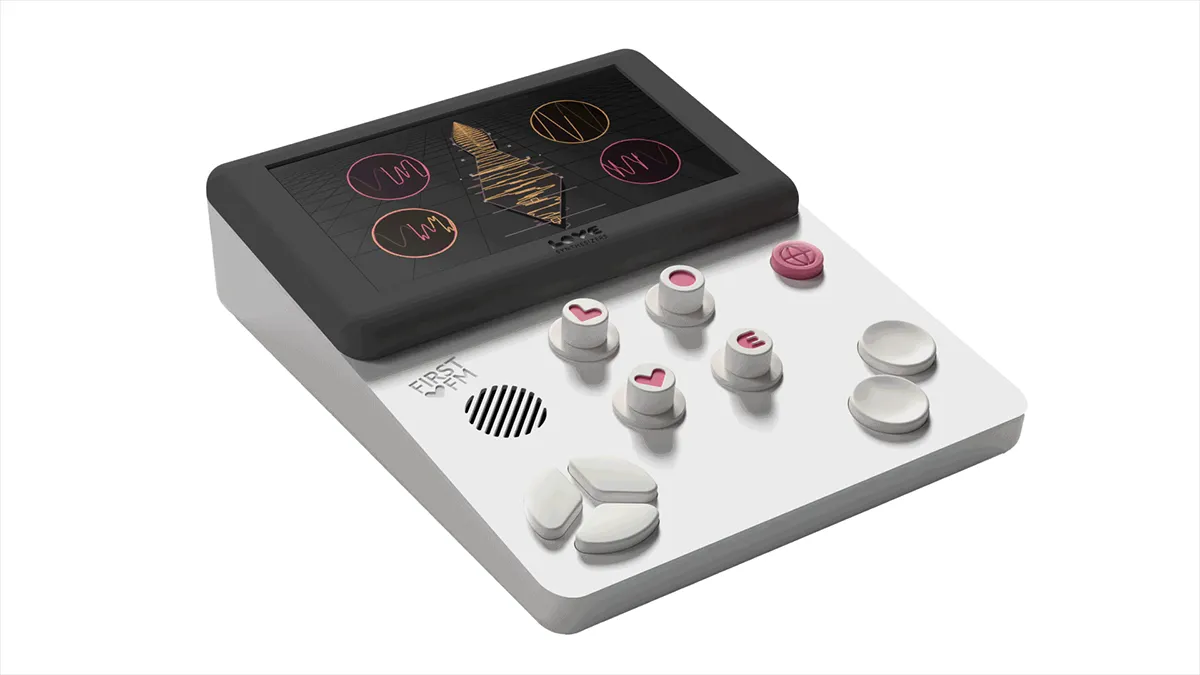
Could First Love be the FM synth that you fall head over heels for?
It looks like a game, but will you want to play it?
It looks like a game, but will you want to play it?

“Whenever this one breaks I have to beg for unused spares,” he says

Avoid unnecessary nightmares in the booth with our guide to the main technical problems you’re likely to run into

The new version of the DAW-cum-plugin will be released on 18 June

The companies say that they’ll work together to protect “human artistry” from the threat of AI-generated content

Deftly side-stepping the subscription saga, we spent some quality time with Minimal Audio’s dexterous flagship. Here’s our findings…

Authorities were quick to lift the lid on his deception and crack the case

Bass Dizi, Xiao, Pipa, Guqin, Yangqin and Erhu multisamples meet multiple synth engines
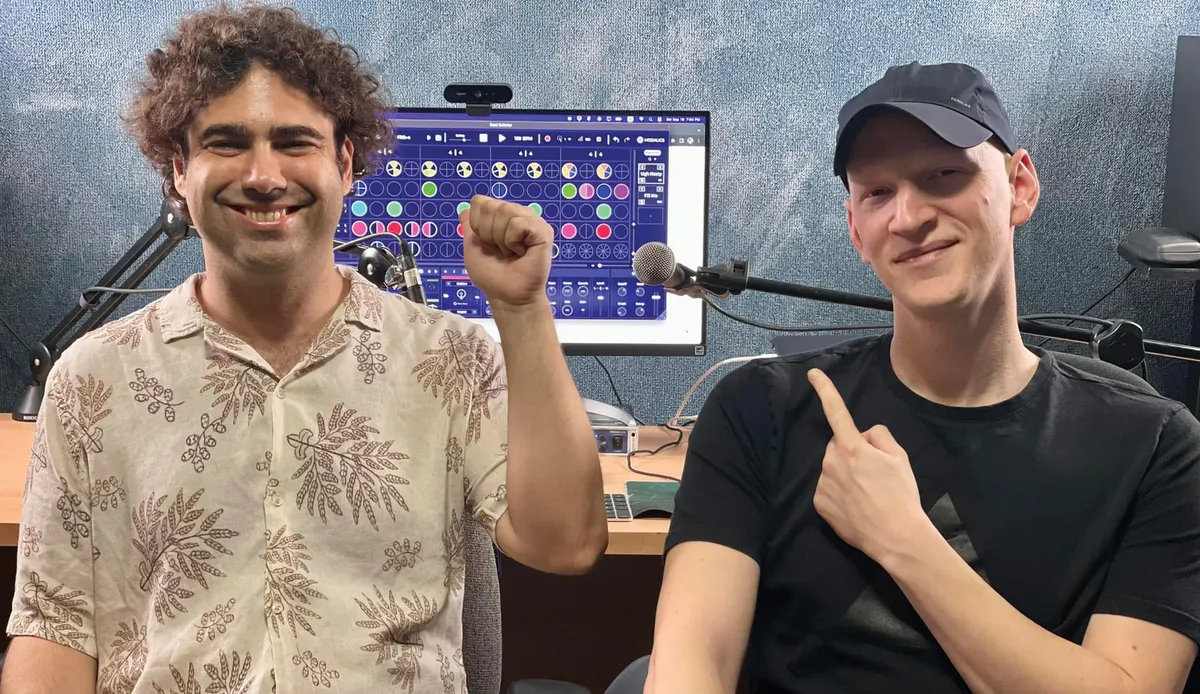
We sat down with the brains behind Beat Scholar, EON-Arp and the new Time-Oddity Chorus

Watch him taking a ride in Air Force Oxygene
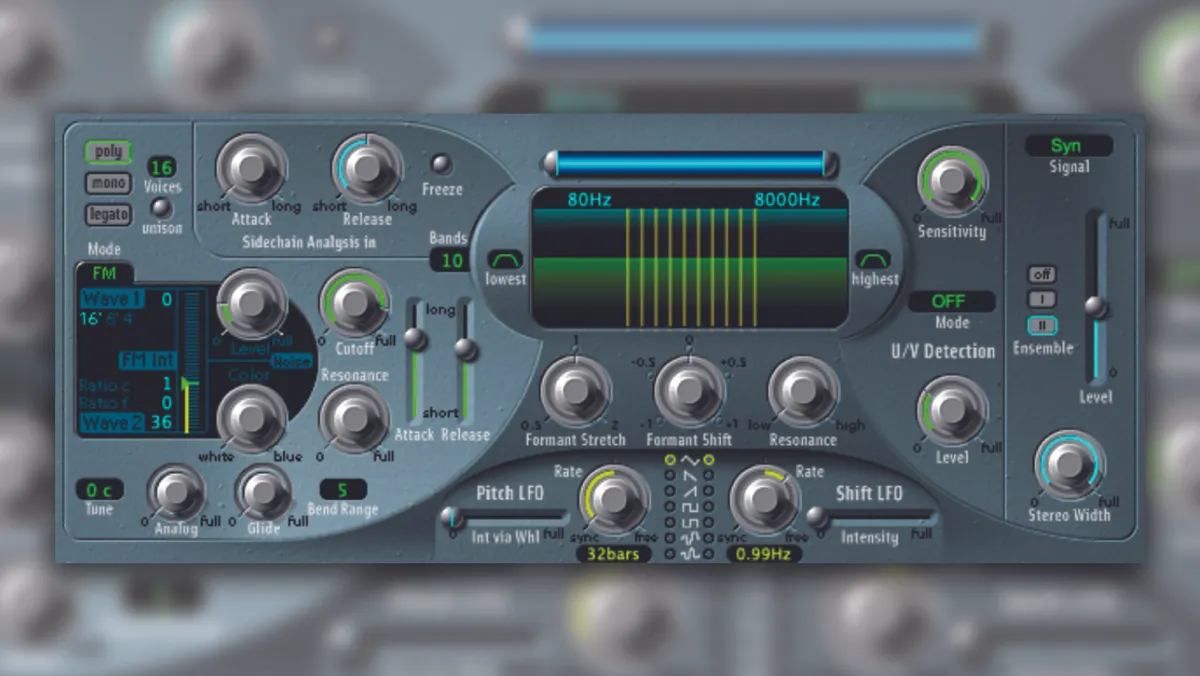
We walk you through how to nail vocal processing using Logic's EVOC-20 Vocoder

Fancy adding some analogue impurity to your DAW? It's time to turn on, plug in and freq out…
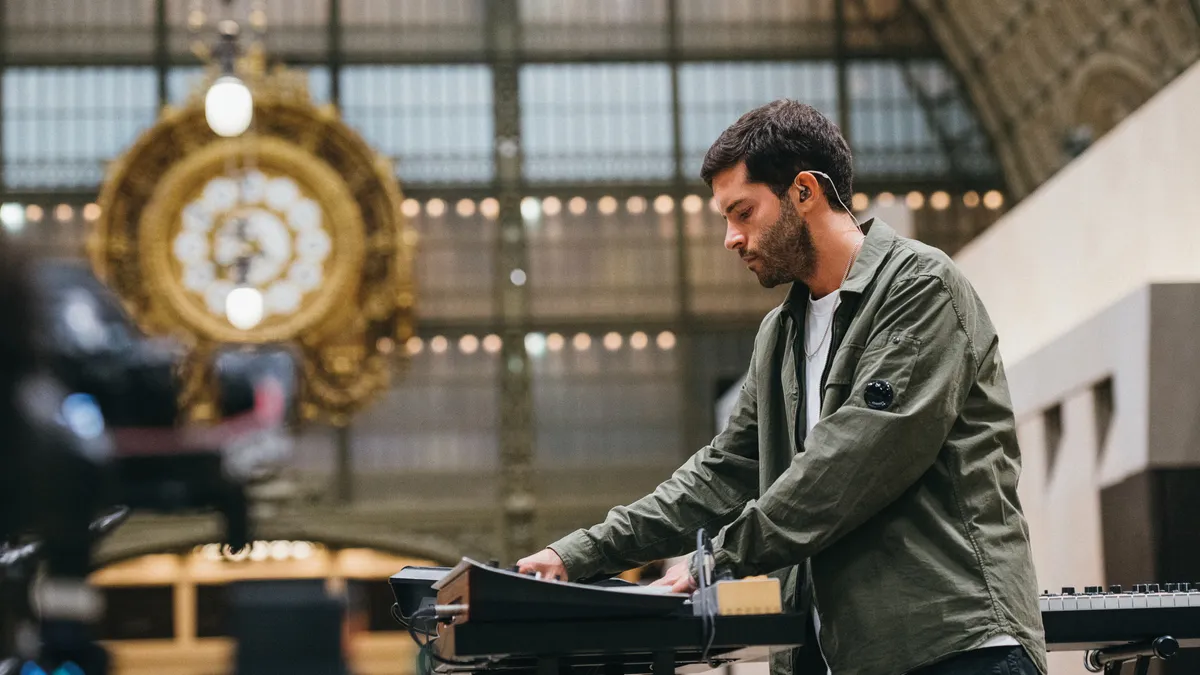
Manipulating samples into abstract new forms, Catching Flies has emerged with a creative identity all of his own. We sat down with the producer to find out more about his latest release, Tides
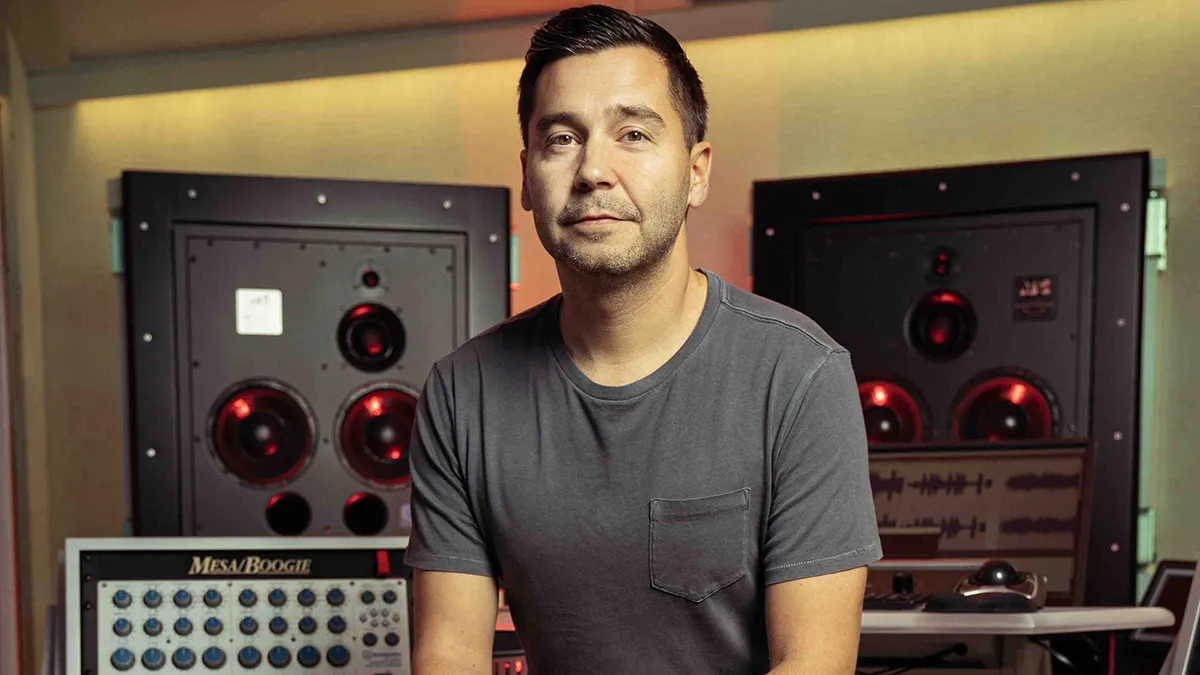
“It’s just knowing how far you can push something before it loses its musicality,” says the man who finessed Miley Cyrus’s Flowers
Knowing where to use vocal processing could make or break your track. We take a look at where you might choose to add some electronic vocal colour
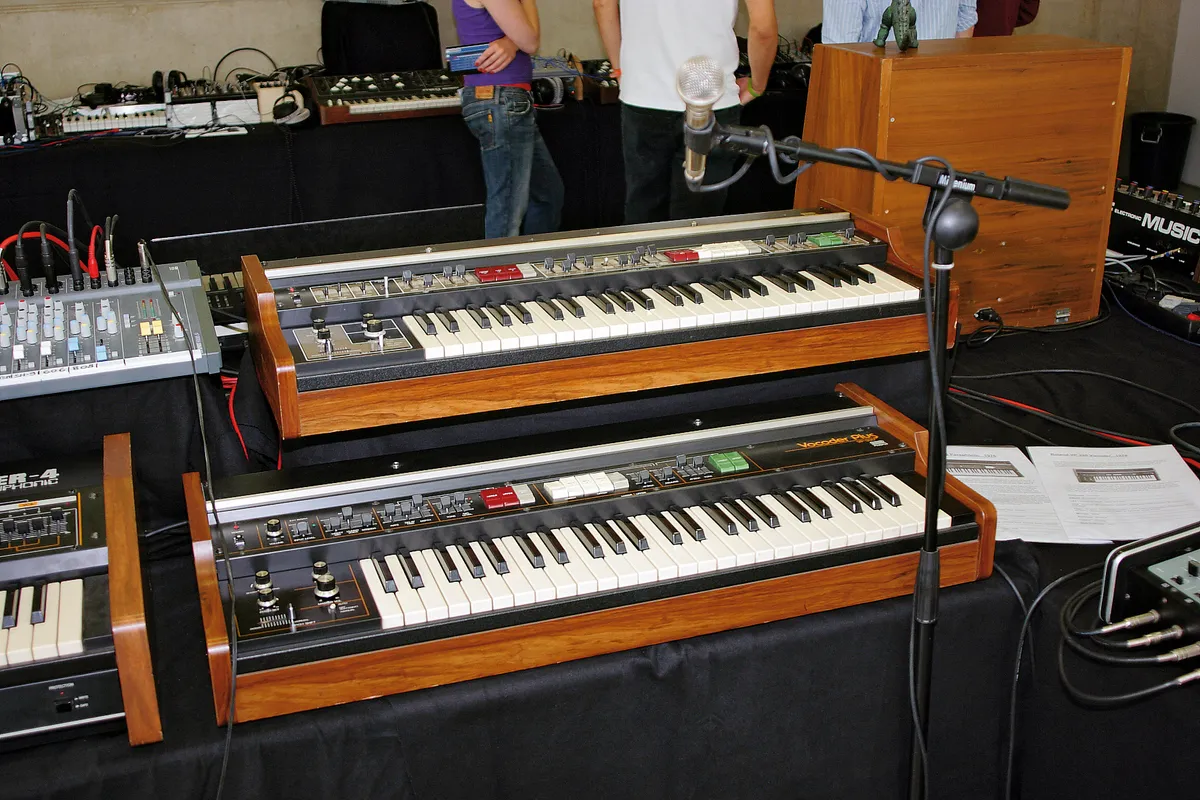
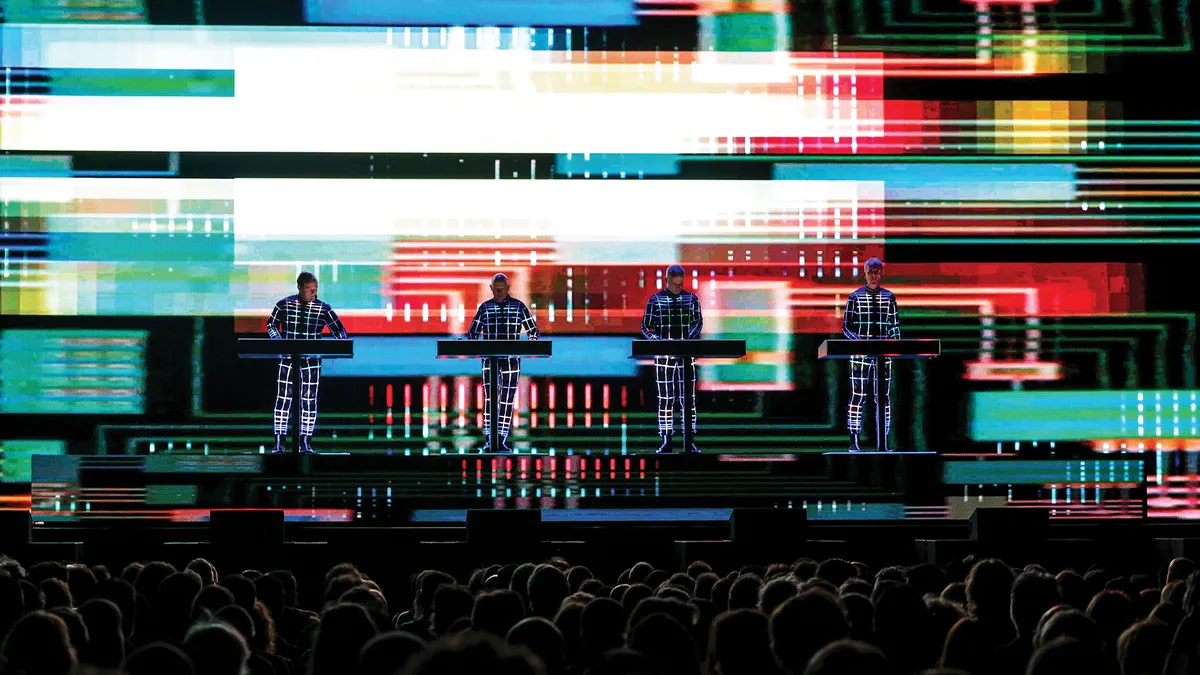
Never mind AI, we’re getting the robots involved in production, as we demystify vocoders, talkboxes, hard-tuning and harmonisers!

“It was turning into this arena-sized highly commercial thing, which wasn’t what I wanted to do, and the whole EDM festival thing felt super whack to me,” he says now

“It’s like the fans just decided: ‘No, this is your hit song’”

Just like the astrological sign Gemini, UK company UDO’s “bi-everything” synth is double the fun

