Apple Logic Pro for Mac 11/Logic Pro for iPad 2 review
- £200/£5 a month
- €230/€5 a month
- $200/$5 a month
Does Apple really want to 'crush' human creativity with its AI-powered DAW? It seems unlikely...
Does Apple really want to 'crush' human creativity with its AI-powered DAW? It seems unlikely...

Never stop the action… Join us as musical mis-steps, happy accidents, crushing financial burden and raw unbridled talent give birth (eventually) to one of the enduring hits of the ‘80s

The two brands say that they “share similar values in their underlying corporate cultures”

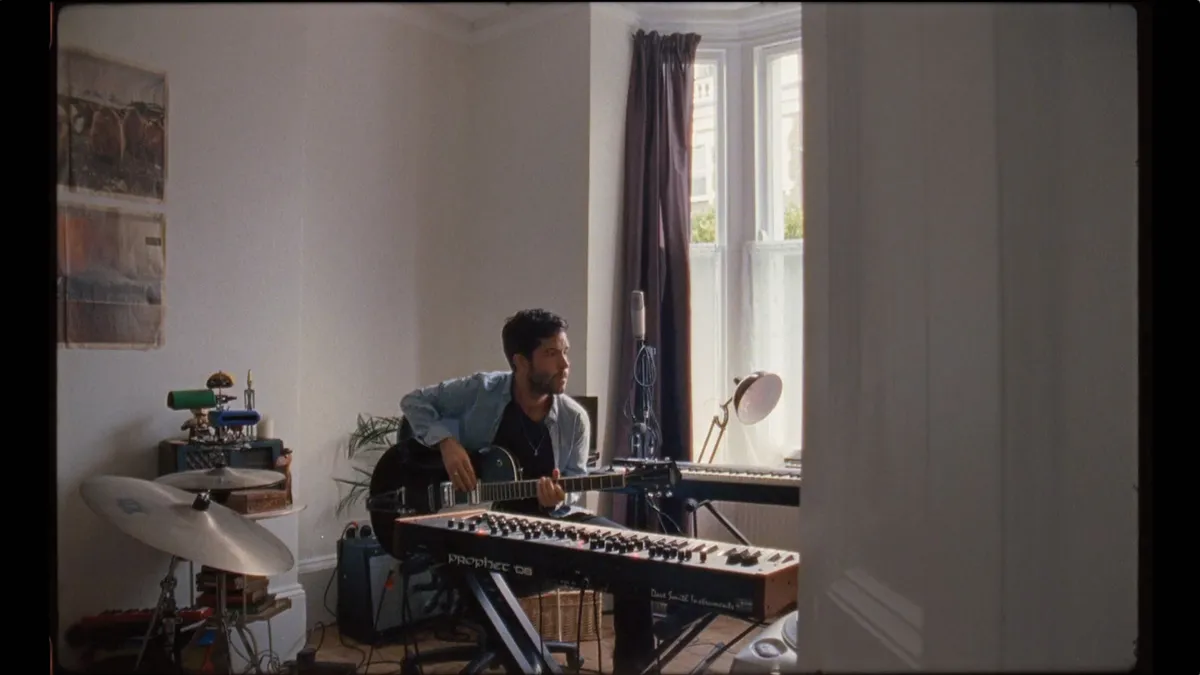
Fascinated by news media’s sensationalism of crime, Guillermo Scott Herren created his own soundtrack to an imaginary film. Danny Turner finds out more

“He was at another table and said: ‘Ian, how are you? What are you doing after dinner?’”

The era of singing subterfuge is upon us

Auto Gain, Loopback and Reamping features are also in the mix

It’s a Minimoog, but not as you know it
Top-dollar gets you a dual-OLED display, but you can now get a lot of good stuff for significantly less
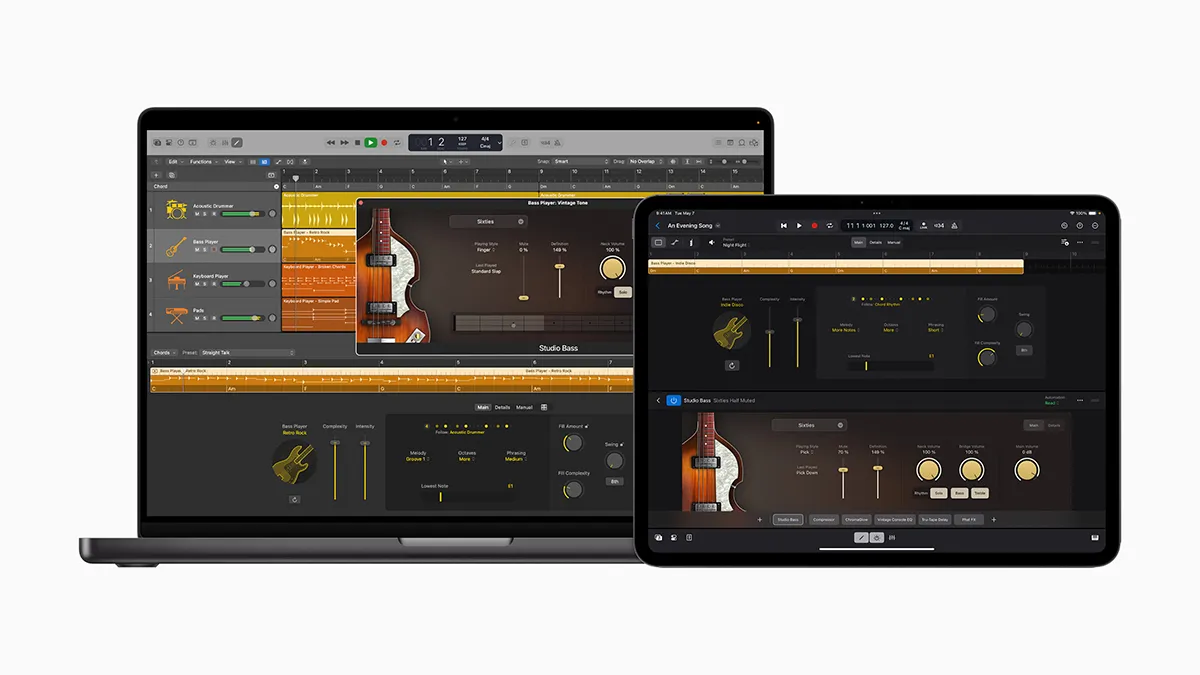
New versions of the mobile and desktop versions of the DAW are on the way

Is Ample more than just a greatest hits package from the AS back catalogue? We reach for the pins

Like a fine wine, Steinberg Nuendo just keeps getting better with age – if only we all could look so good after 24 years!
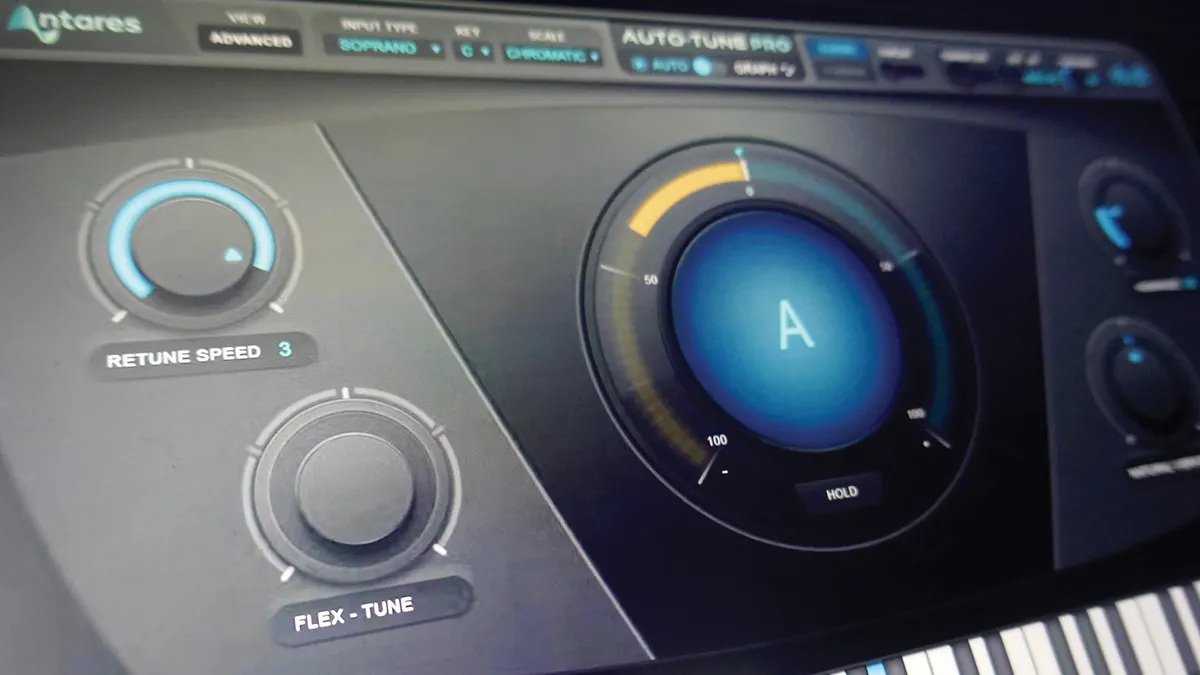
That hard-tuned, robot-like sound, first popularised by Cher, has now become something of a staple in modern pop

From the makers of the infamous Auto-Tune comes a vocal reverb plugin with added AI. Do you believe in reverb love after love?

Recreating a classic (though not very obvious) ARP synth with characteristic aplomb. We get Axxess all areas…

It’s hard to resist another seminal classic from Cherry Audio but at a bargain price of zero, are they selling themselves short?

Arturia’s mighty V Collection reaches generation X, but now its focus is not just on classic keyboards but new ones too

Playing a mono synth demands a different technique to conventional keyboard playing. Here's how...
"This technique is very simple, but I use it on most tracks..."